Here is my version of a
SQUASH CARD
I made this months and months ago. Found the pictures on my laptop today.
If requested, I will make a new one with a Step by Step.
Some of the tools I used...

Paper I used...
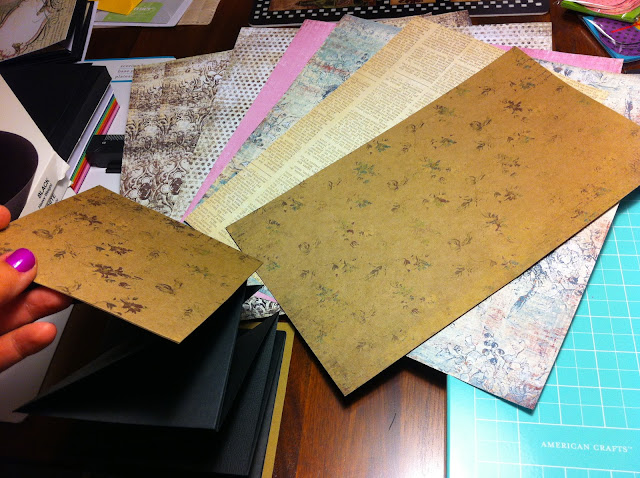
Base cardstock I used...
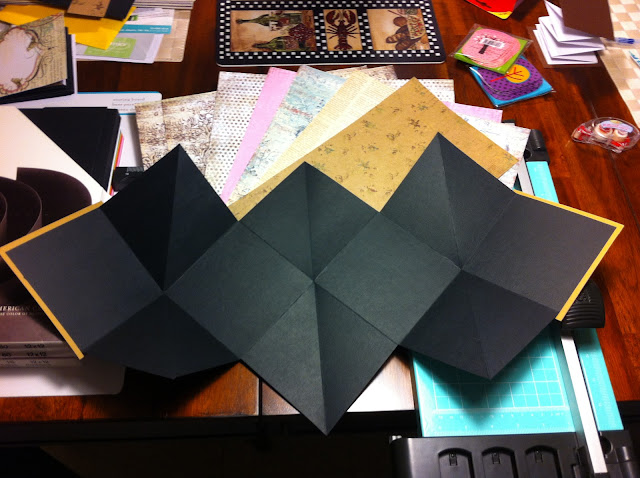
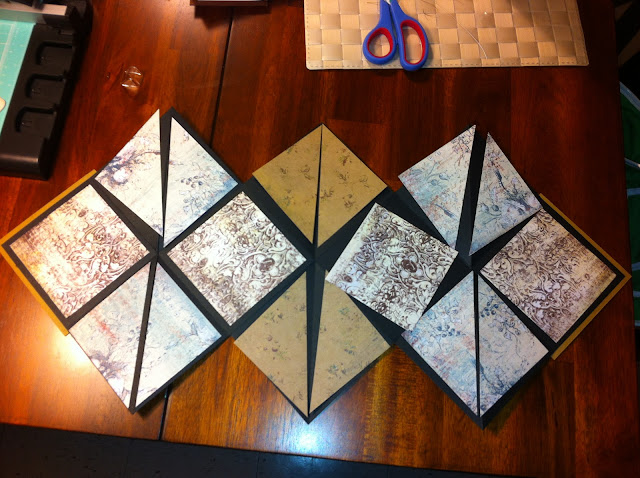
I glued down the cardstock...
I used ink to distress the paper. I did not use Tim Holtz for this project as at the time I didnt own any. I used the wheel of coloured ink you see on the left of the picture. Worked great...

I used a kitchen spunge to distress the paper. At the time I did not own any a special ink sponge so I improvised. Gave it a pretty neat outcome... (It's all about improvising!!)

I added two enveloppes. I distressed them ALOT and also ran my tool (I forget the name) its a tool I use to make holes in paper in order to pass string threw it. Since the enveloppes were thick it did not pierce holes threw it but made it look distressed. It was an amazing outcome. Really love that technique. (The tool I used is in the pink kit in the first picture),

Here is a sample of my favourite enveloppe. I added a star brad to it...

On the other, I used a stamp. Wanted to see what it would turn out like. Not too bad...

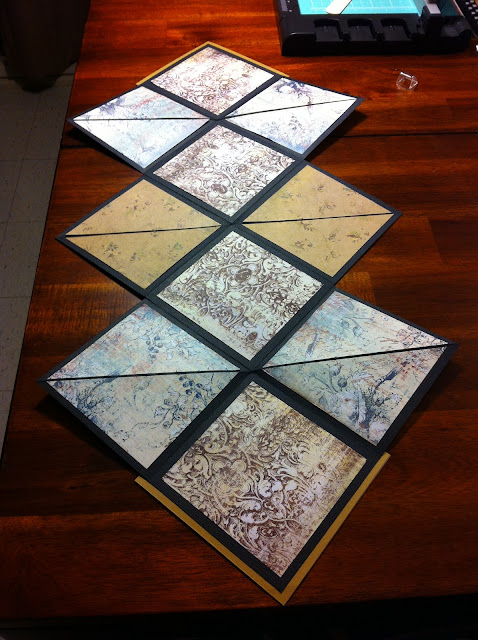
This is a view when its closed and you try and open it. Pretty neat isn't it!
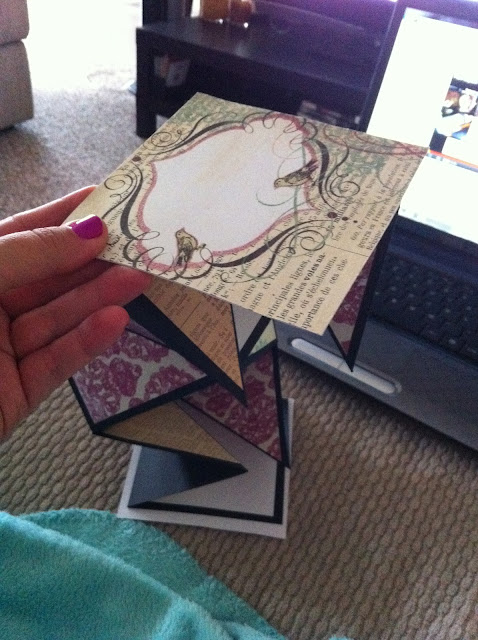
This is on the reverse side.

You can use this base to do any type of scrapbooking. You can add pictures, you can add quotes you like, you can add dimentions to it by using pop up stickers and decorations. You can add pockets and put tags in them and journaling spots.
If this is something that interrest you, feel free to ask me for advise and ideas. I'm always up for giving suggestions.
BE CREATIVE!! and use tools laying around the house. You dont need fancy expensive tools!!!
HAVE FUN!!!
:-)
No comments:
Post a Comment