


Click on "Read More" for the picture tutorial

I put the Sizzix die threw my cuttlebug (you can also use the big shot)

This is what I used to create the card base.

I added this insert into the center of the cardbase (this is what creates the pop up effect)

I always add tape to secure it into place.. (optional)


This is what it looks like once it's folded.

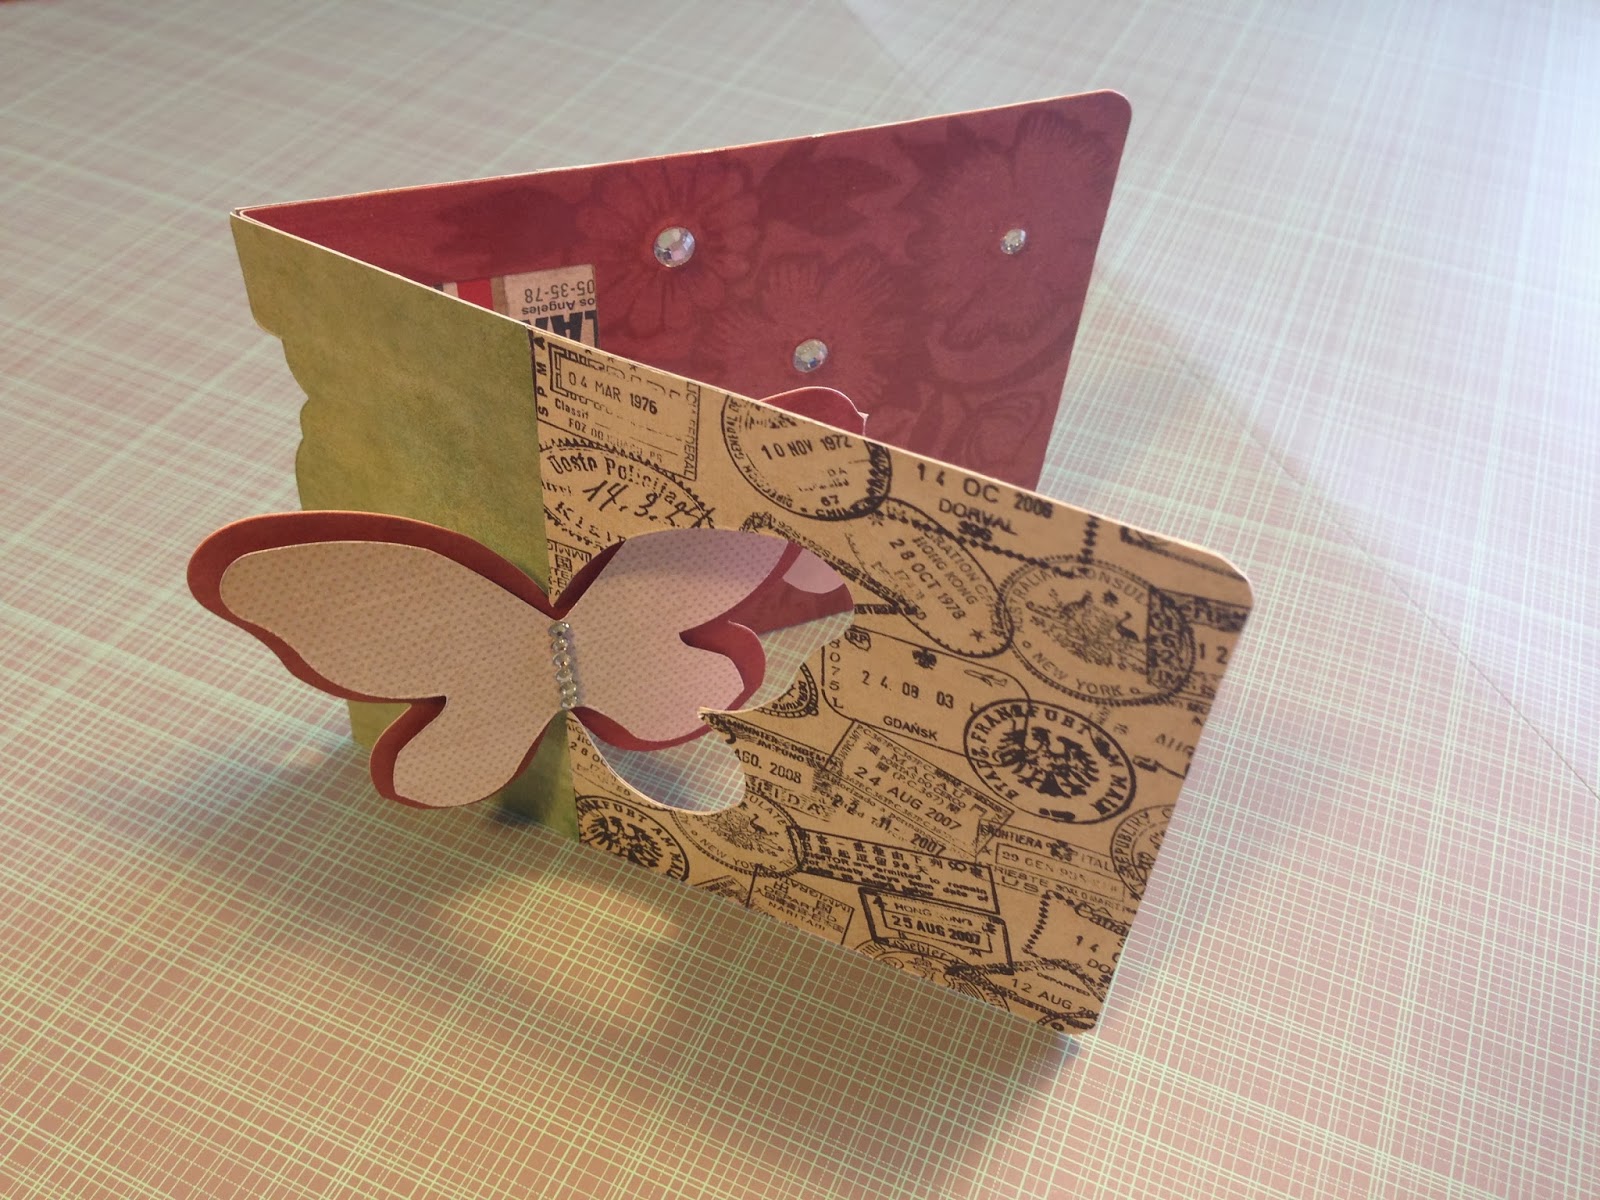
This is what the card looks like when it's standing on it's own

I added a piece of pattern paper over half of the big butterfly. This piece will be used for the front of my card to cover the white side of the cardbase since I did not use double sided paper.

I glue the pattern paper over the plain white cardstock from the cardbase. This also helps to make the card stronger.

I then used this sizzix die to create the back panels in the center of the card.

I only used the shape to the left in the image. I cut it out twice to make 2 panels.
Then for decoration I used the following Sizzix butterly cut out.


This is what the card looks like when it is laying flat.
No comments:
Post a Comment